How to deploy your node.js application for free.
Host your node.js website using render for free
Table of contents
- Step 1: Go to render.com now, click on Get Started
- Step 2: Signup for render(using GitHub) or log in if you already have an account.
- Step 3: Once you have signed up or logged in go to click on Dashboard .
- Step 4: Once on the Dashboard page, select New + .
- Step 5: Next, select Configure account .
- Step 6: You must sign in with your credentials on the GitHub login screen after clicking Configure account.
- Step 7: From the list, select Configure next to your GitHub account.
- Step 8: Then select the repository from GitHub that you want to deploy.
- Step 9: Then click on connect next to the GitHub repository of the website you want to deploy.
- Step 10: Now fill in the Name, Branch, Root Directory, Environment, Build Command, Start Command as highlighted in yellow.
- You are almost done now, wait for approx. 3-5 min and it will show that your website is live
I recently built a few node.js websites, which I wanted to share with my friends. However, up until this point, I had only known how to host static websites. Since I now had to deploy a node.js website, I had to learn how to do it, so I thought why not share it with everyone.
Stay with me and follow these simple steps to deploy your node.js website for free if you wish to deploy your website for free.
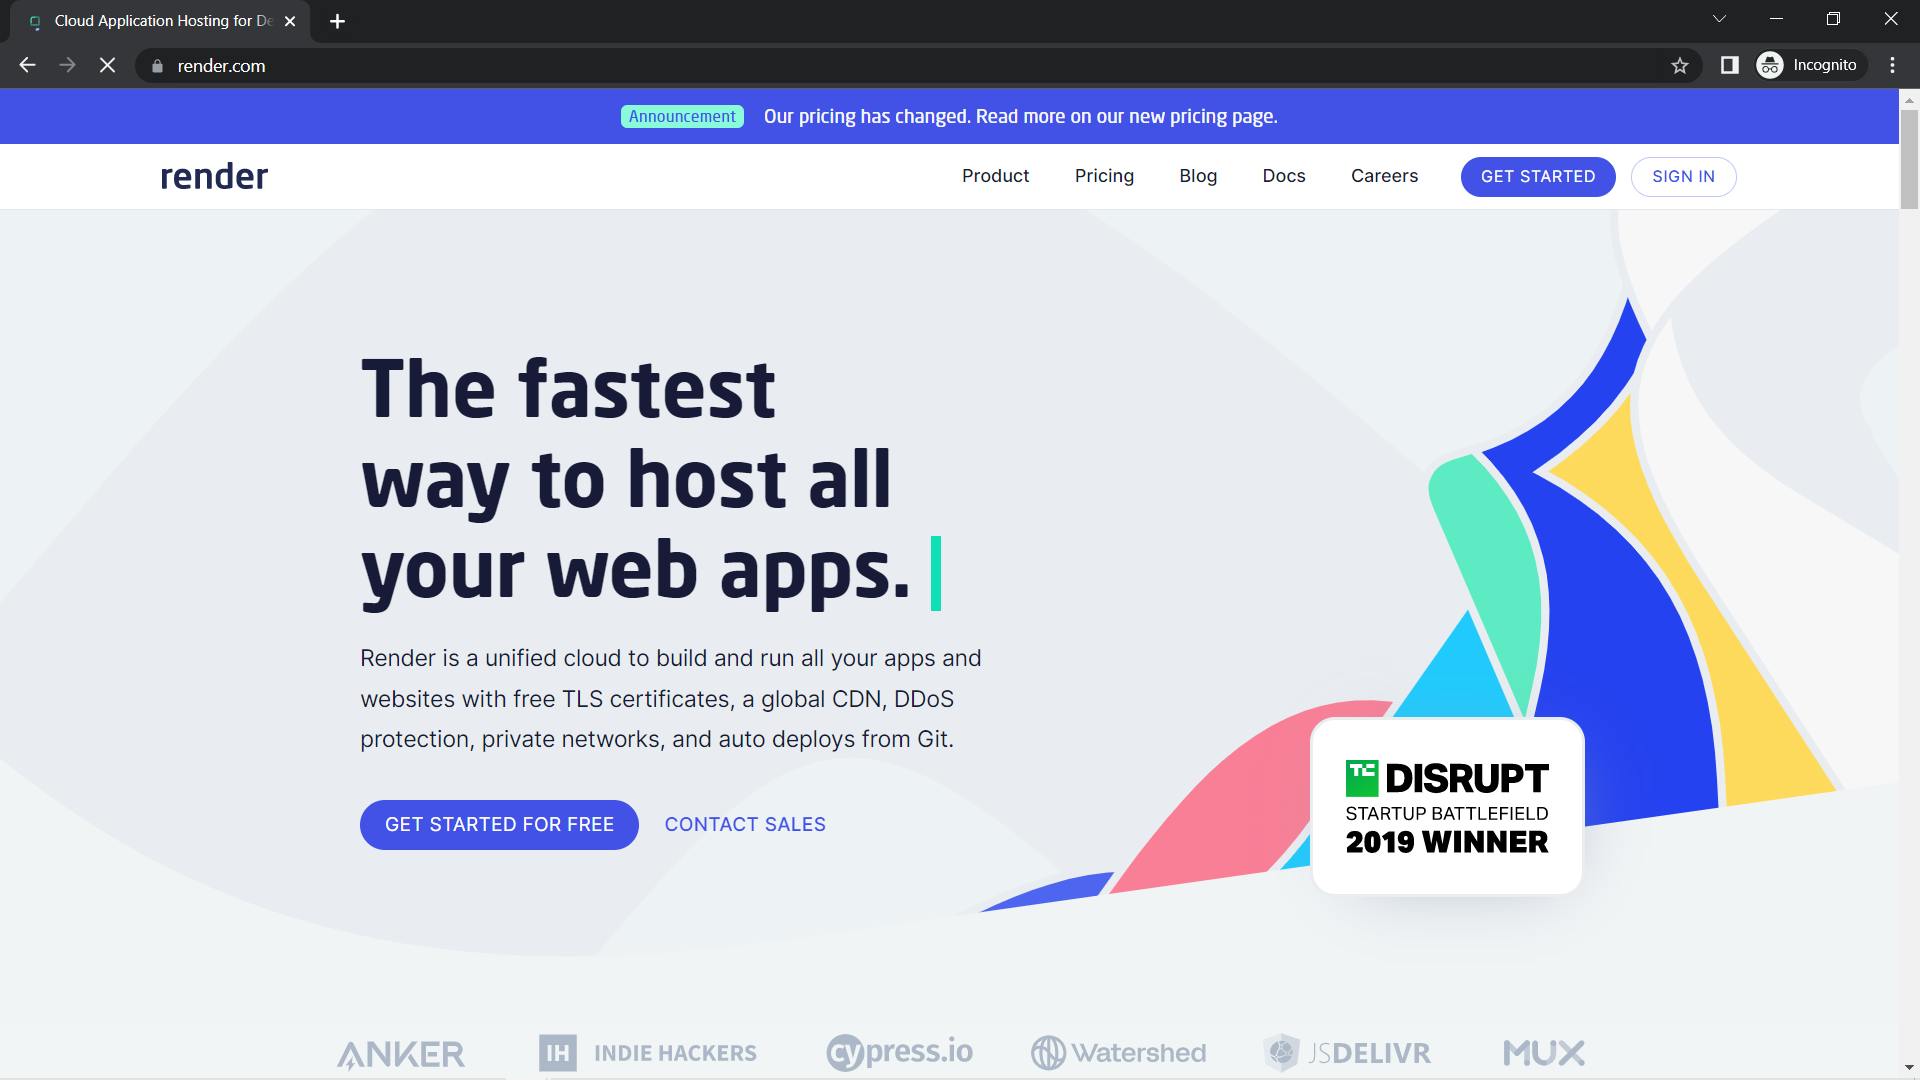
Step 1: Go to render.com now, click on Get Started
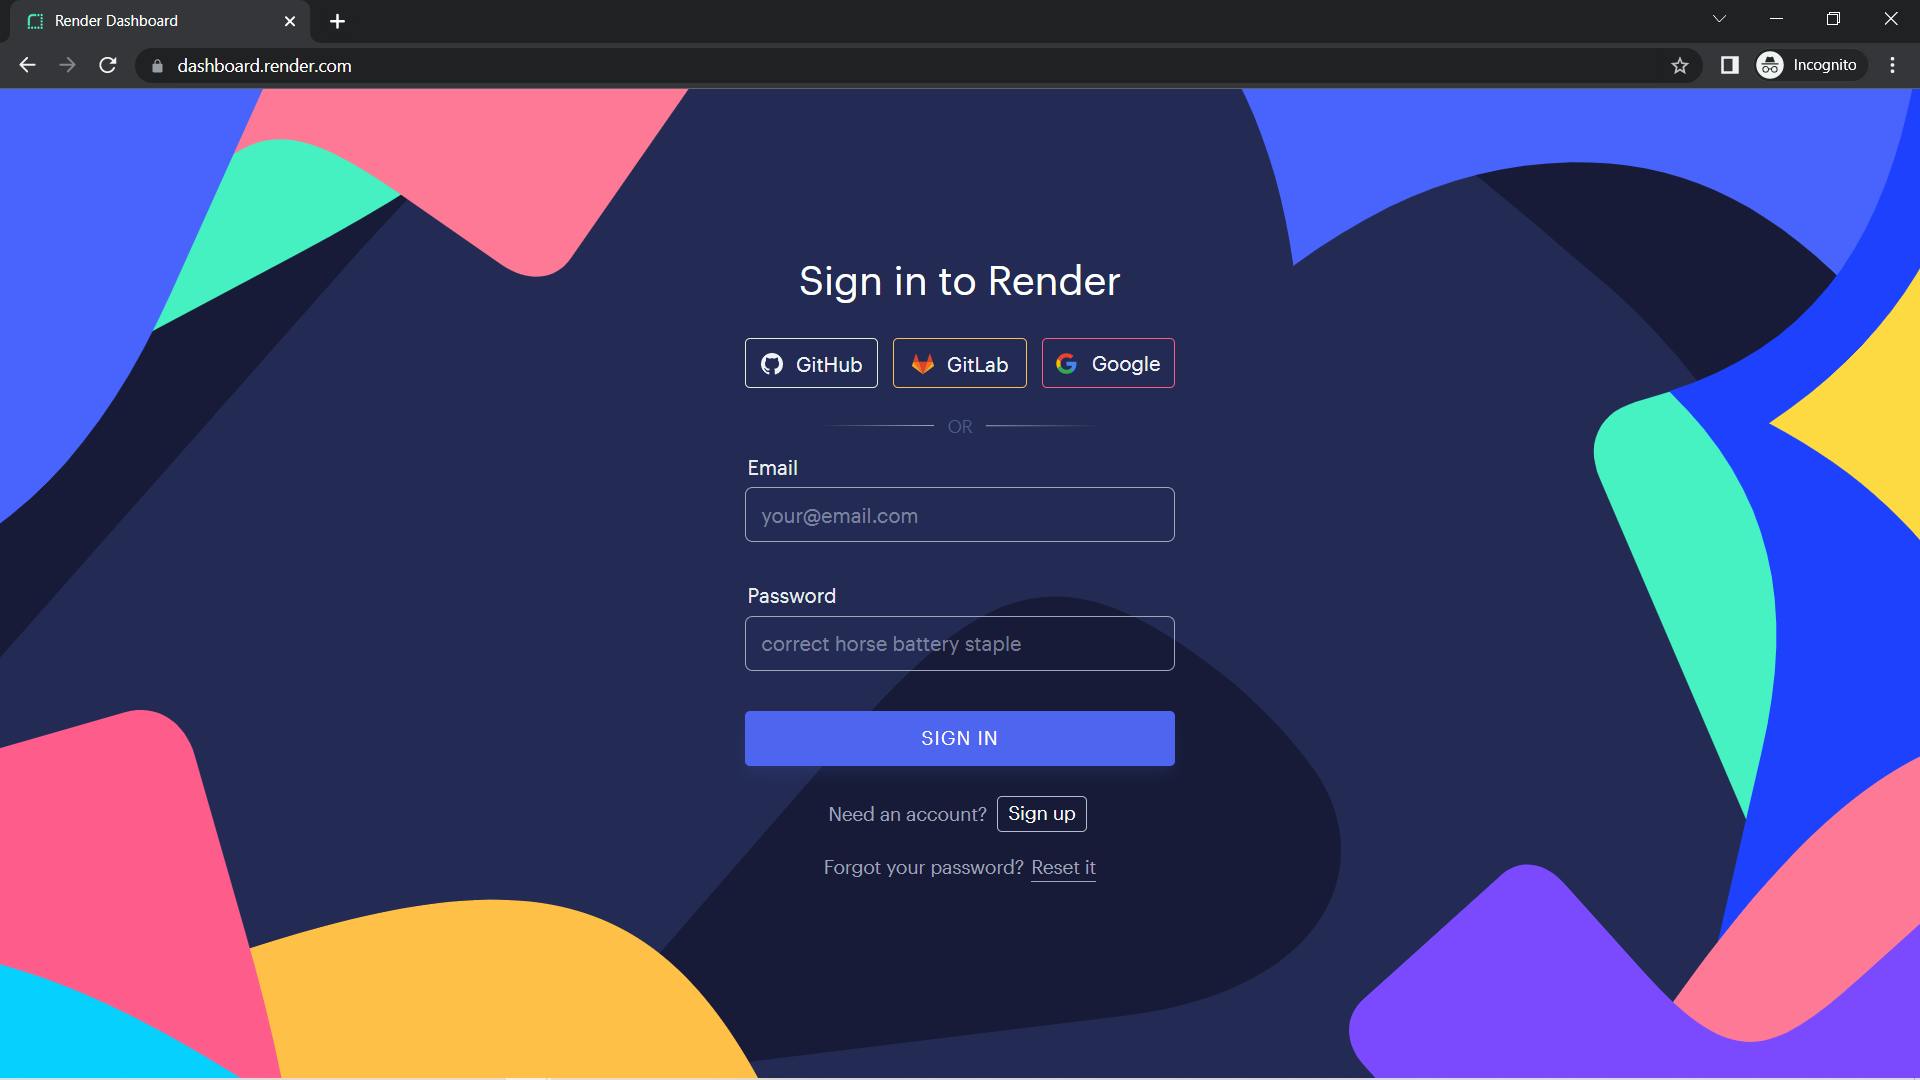
Step 2: Signup for render(using GitHub) or log in if you already have an account.
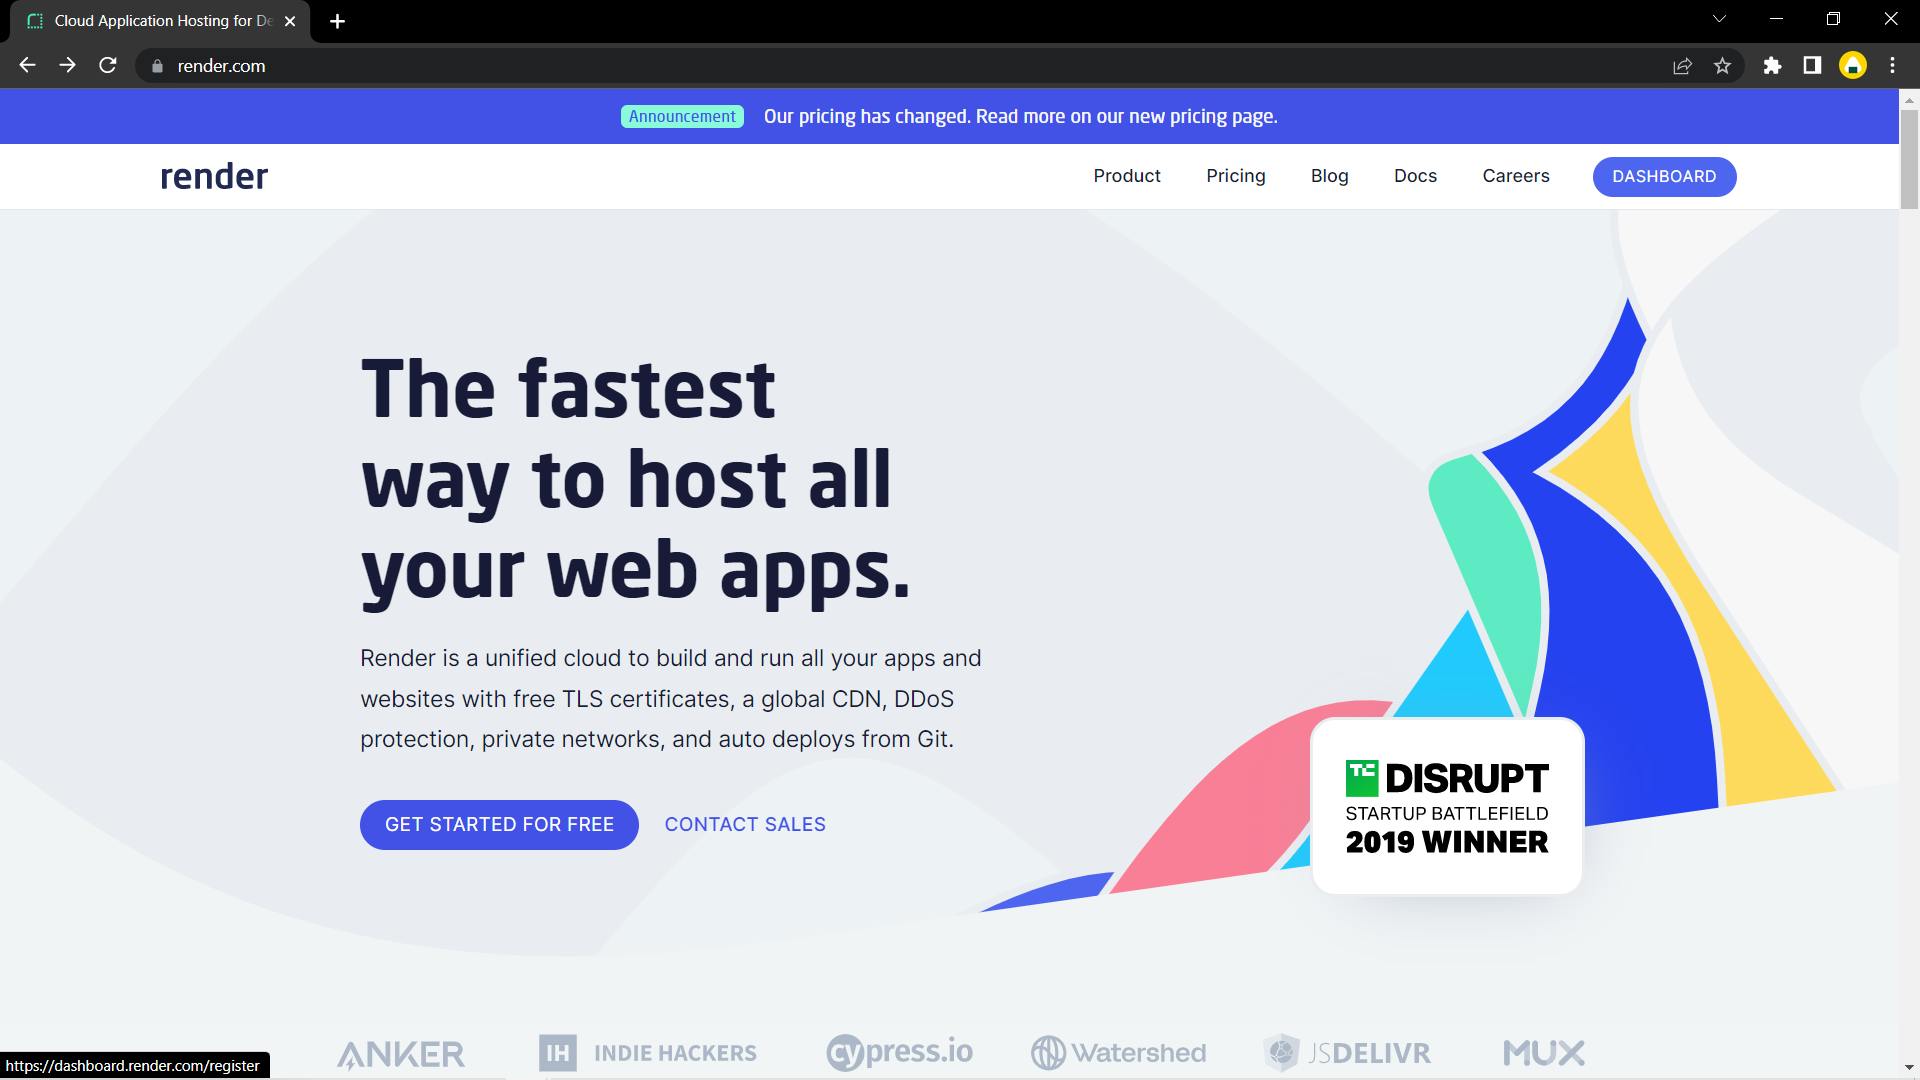
Step 3: Once you have signed up or logged in go to click on Dashboard .
Step 4: Once on the Dashboard page, select New + .
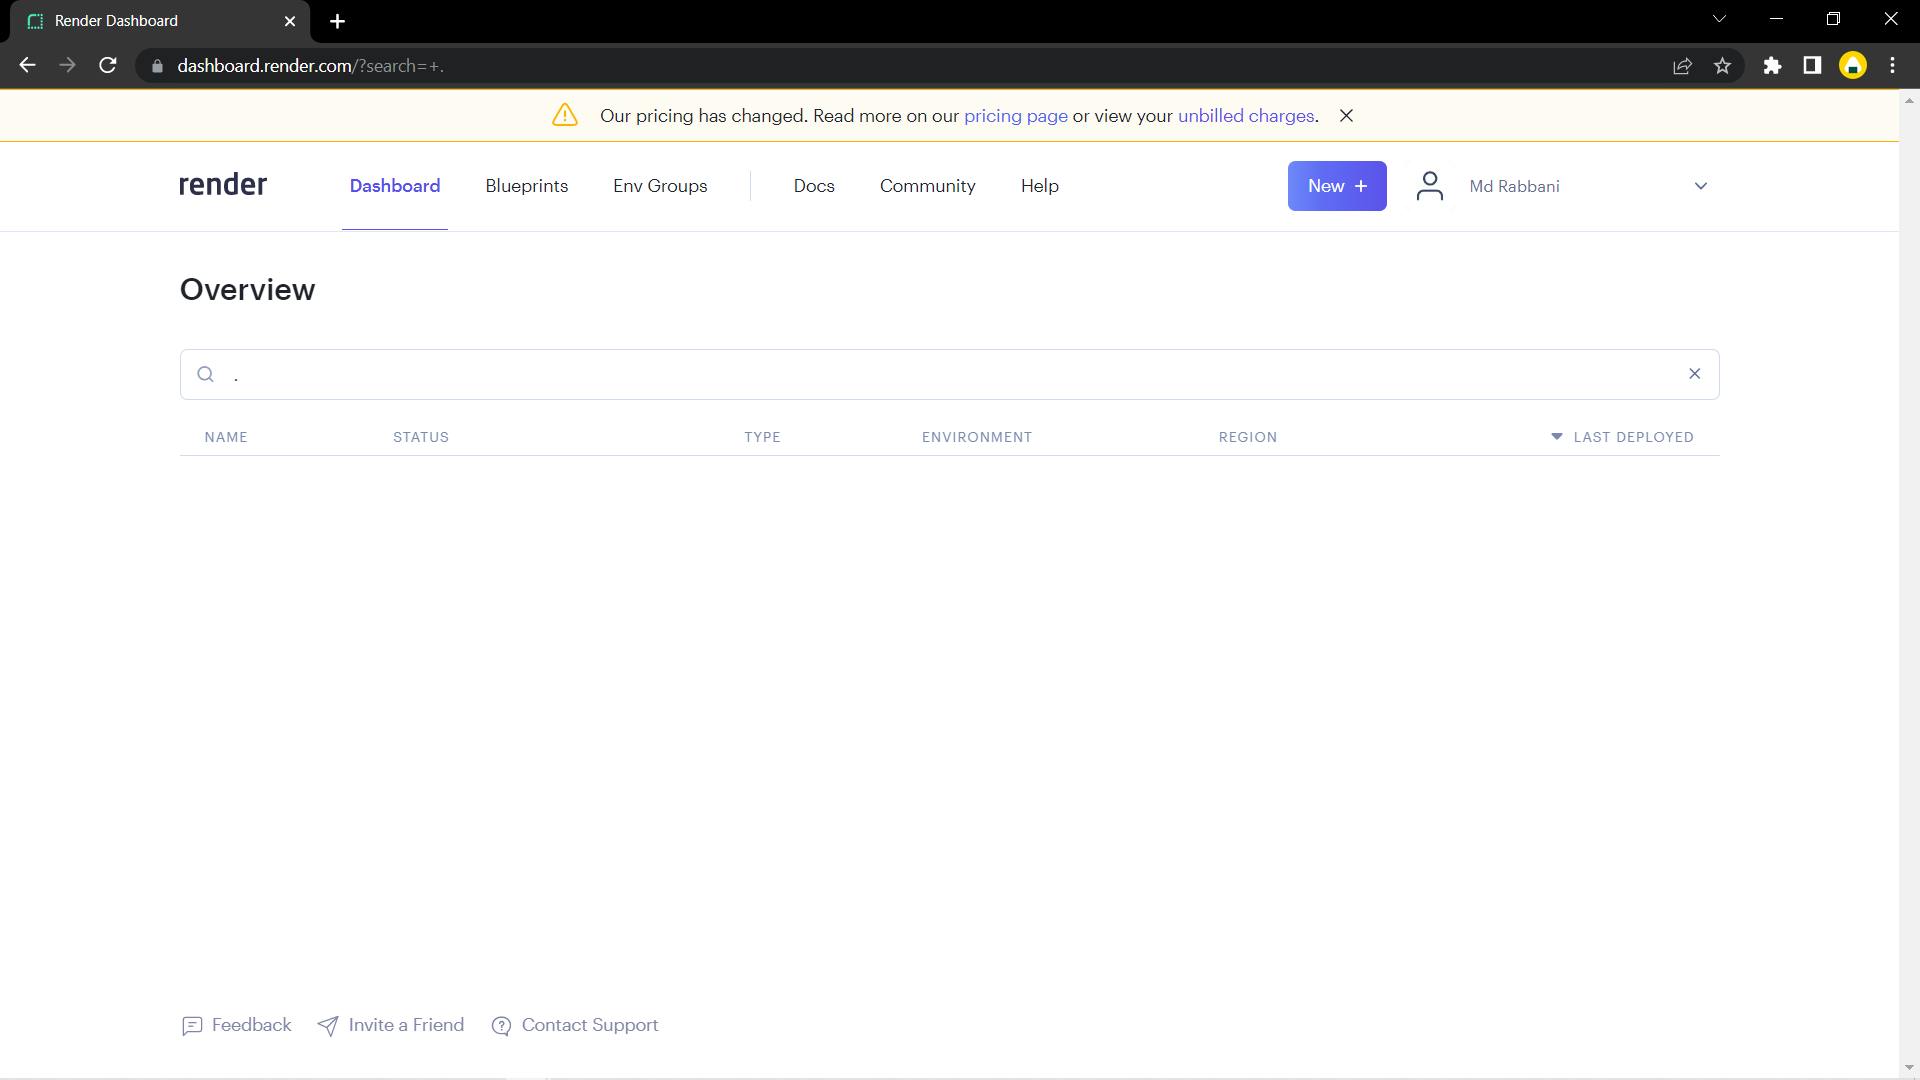
Then select Web Service from the drop-down menu.
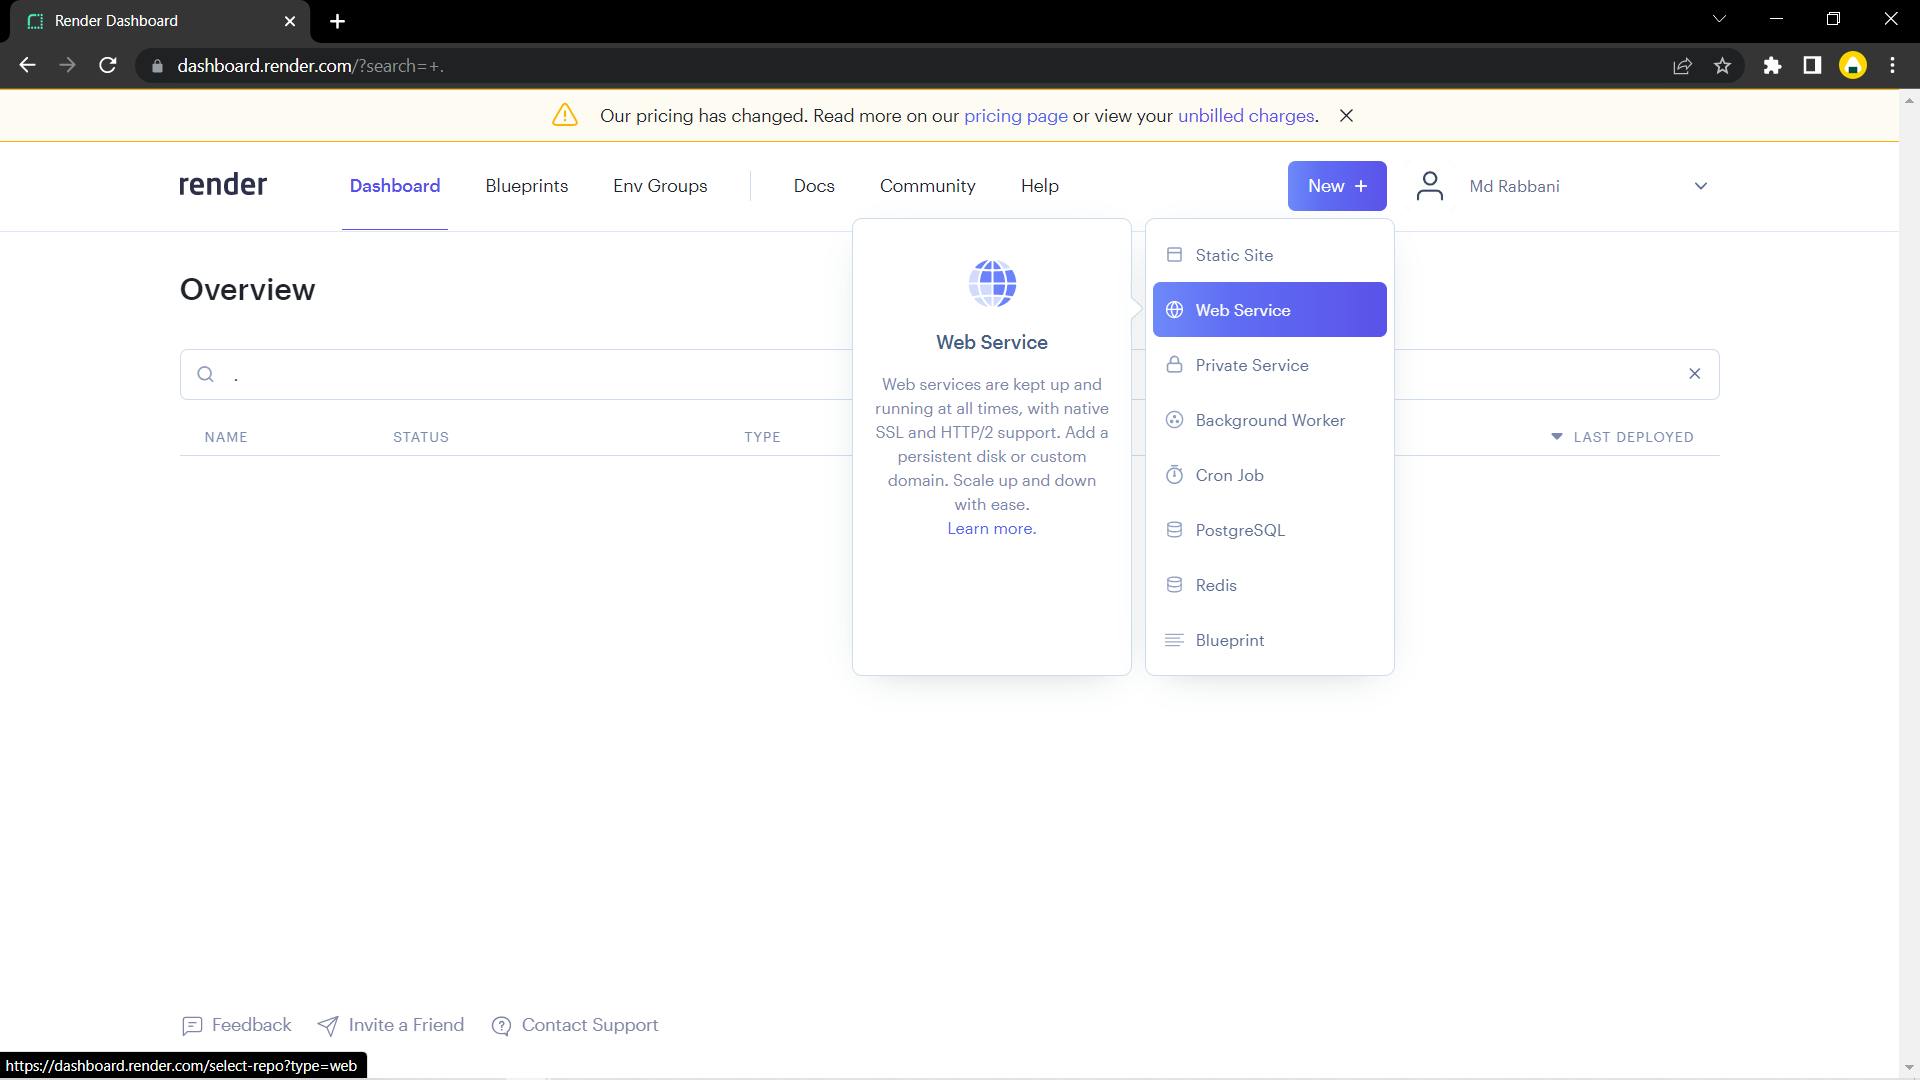
Step 5: Next, select Configure account .
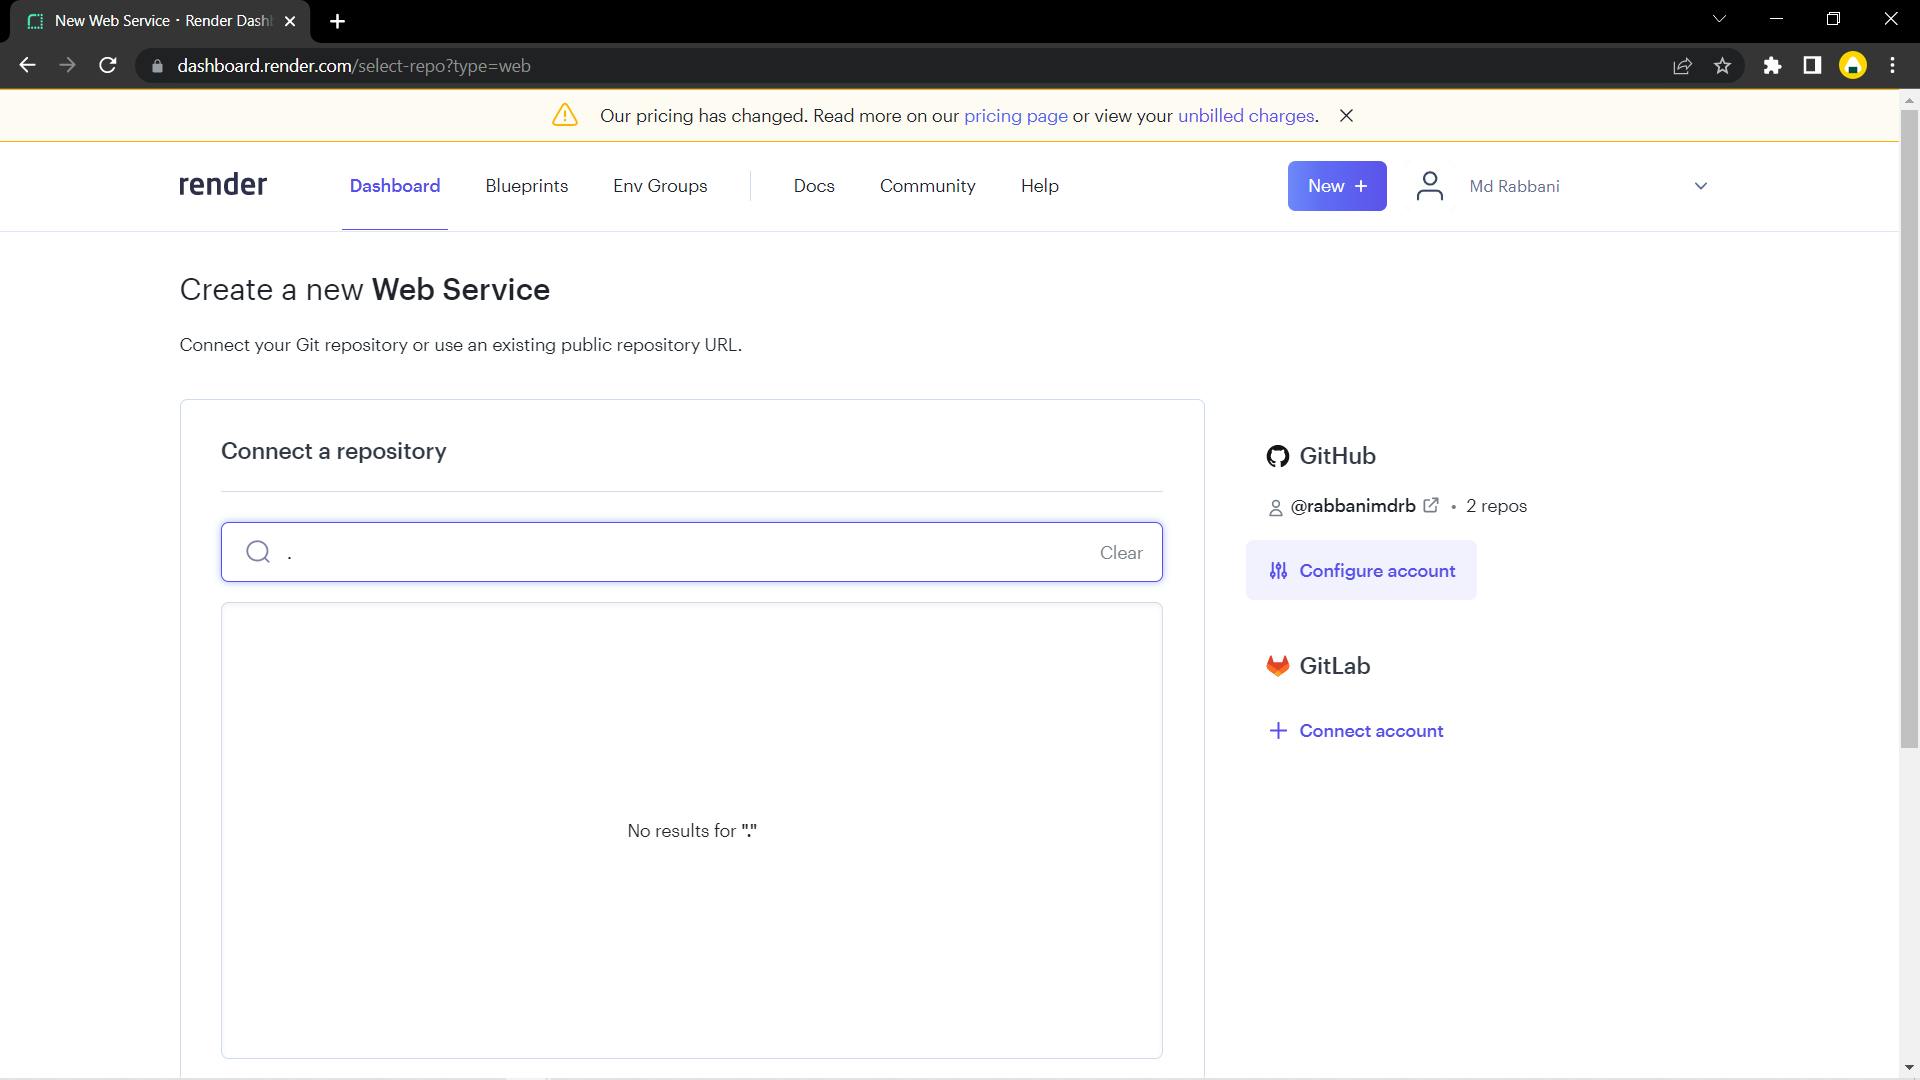
Step 6: You must sign in with your credentials on the GitHub login screen after clicking Configure account.
Step 7: From the list, select Configure next to your GitHub account.
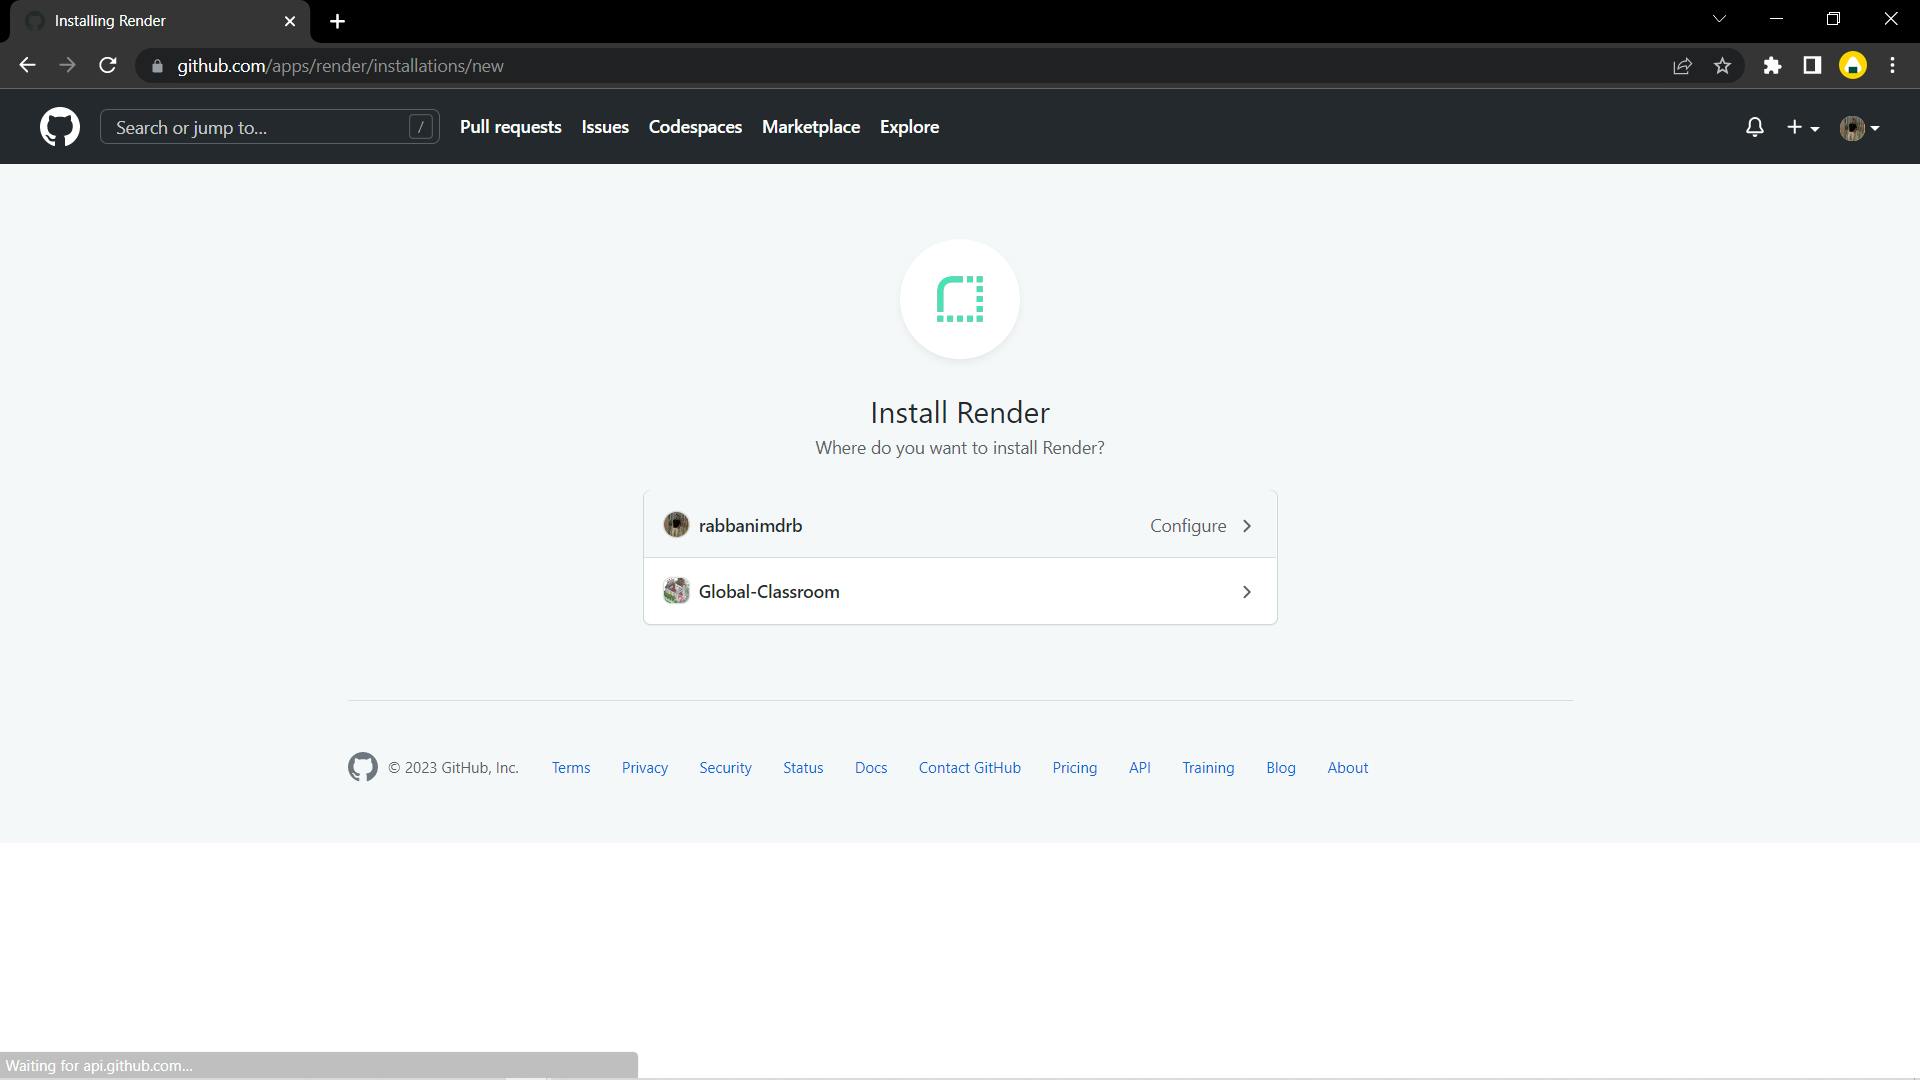
Step 8: Then select the repository from GitHub that you want to deploy.
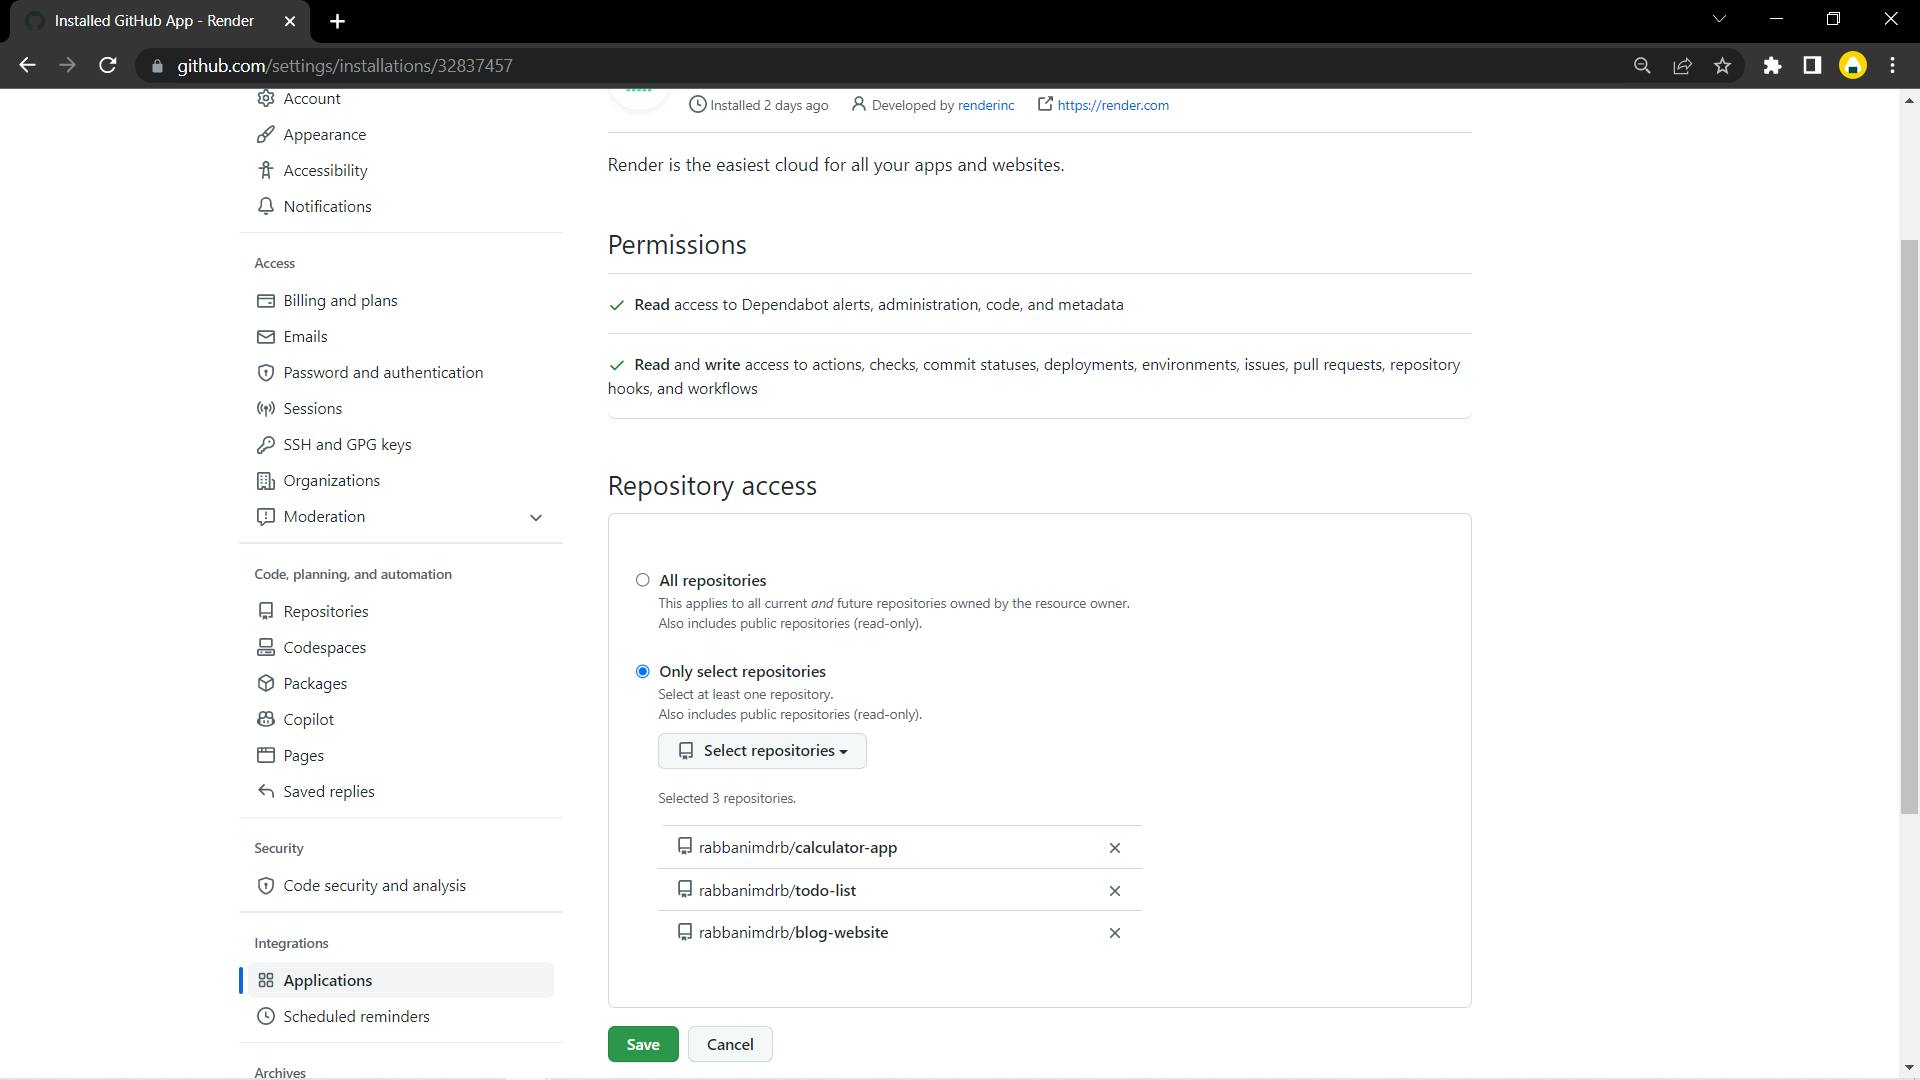
From the Repository access section chose either All repository or Only select repositories if you select Only select repositories, you will need to look for and choose the precise repository that you want to deploy before pressing the save button.
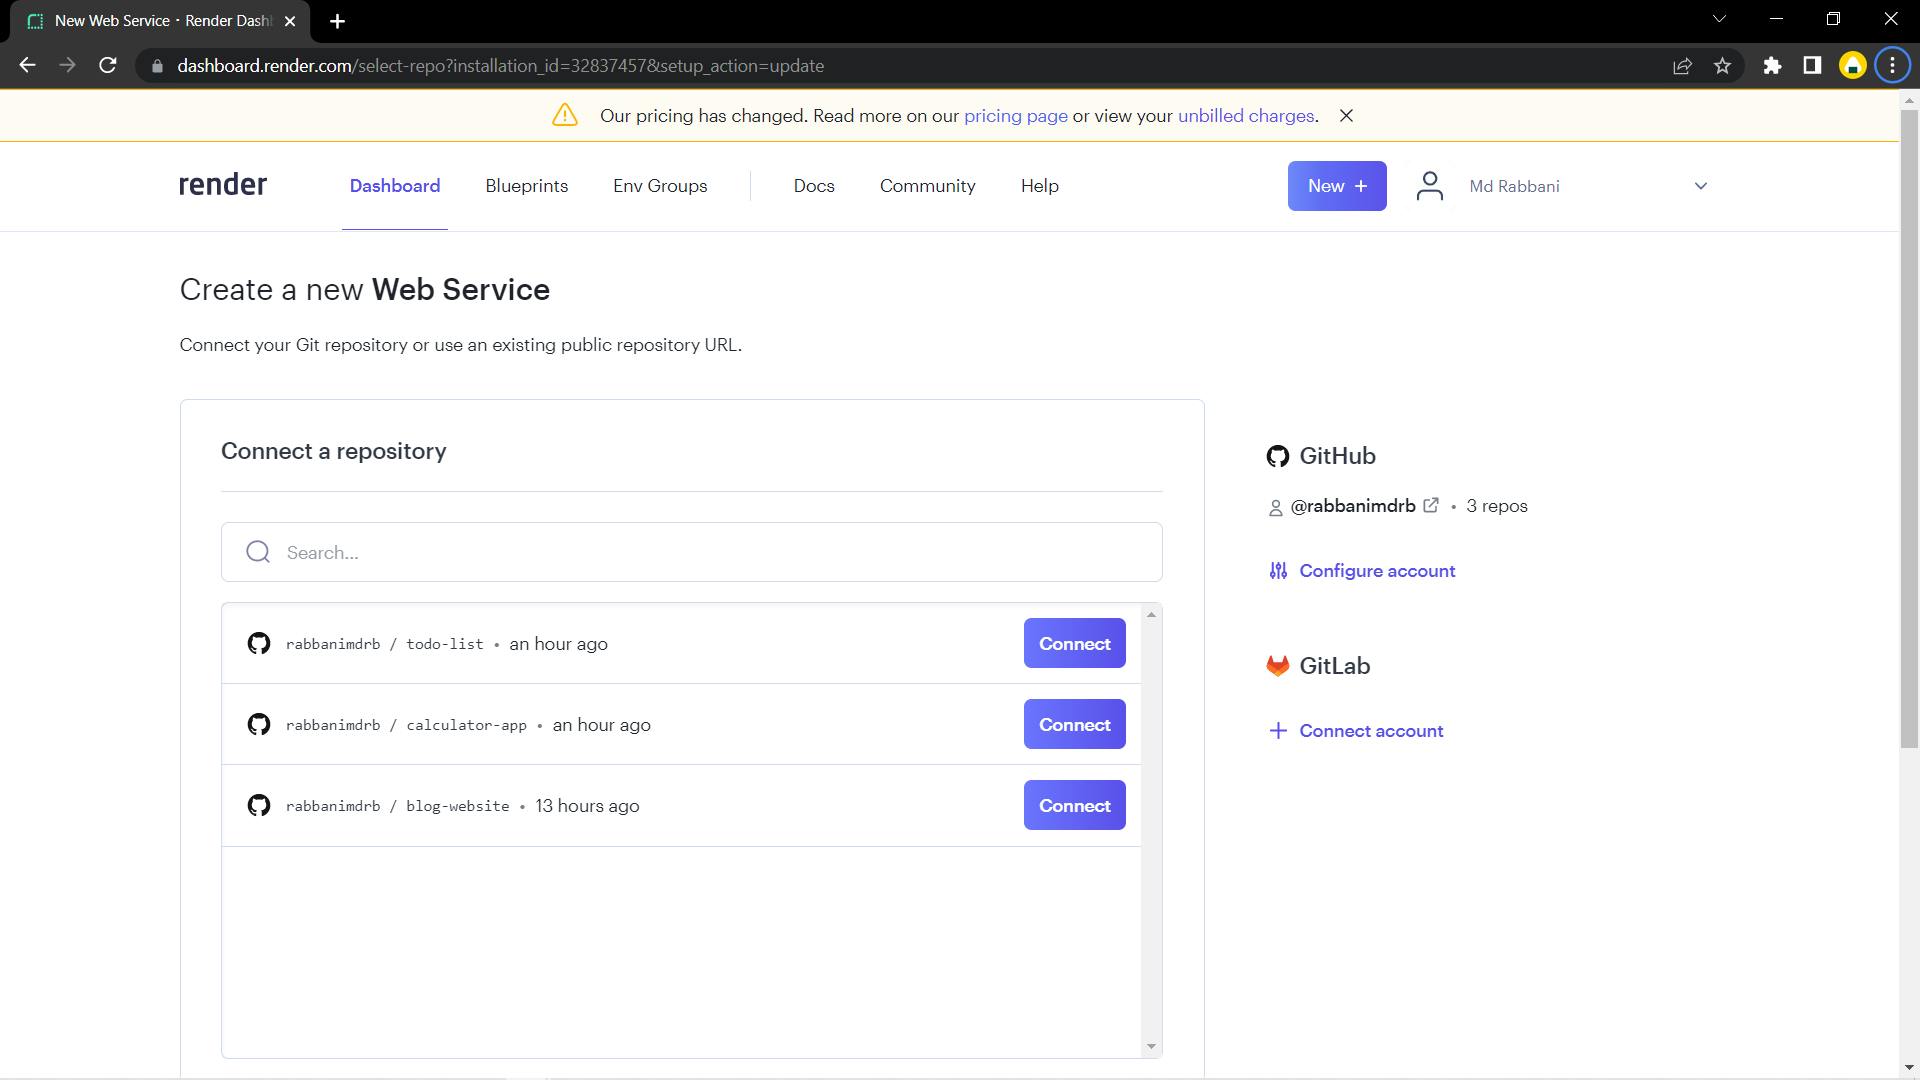
Step 9: Then click on connect next to the GitHub repository of the website you want to deploy.
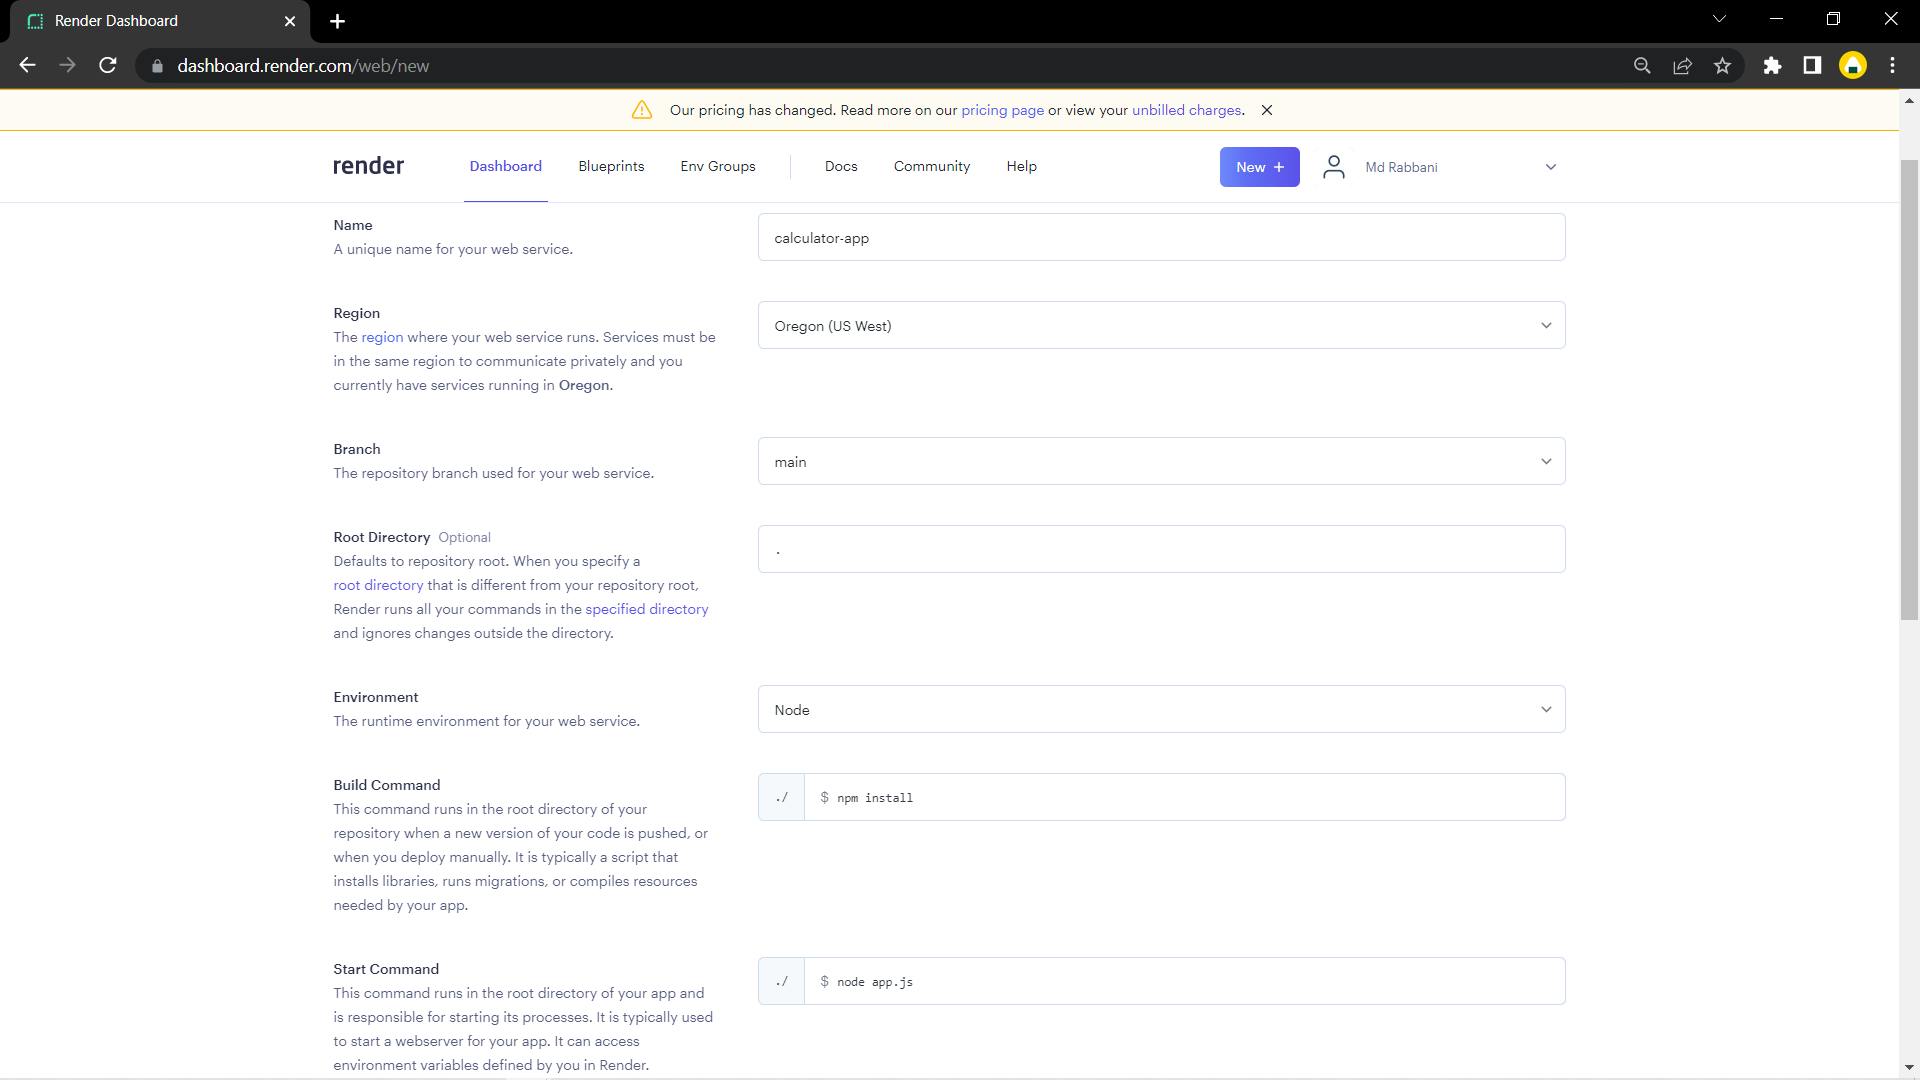
Step 10: Now fill in the Name, Branch, Root Directory, Environment, Build Command, Start Command as highlighted in yellow.
Name: Give it any name you want to, in my case it's calculator app
Branch: main
Root Directory: . (dot)
Environment: Node
Build Command: npm install
Start Command: node app.js if your entry file is app.js
Once you are done entering the above-mentioned details, click on Create Web Service
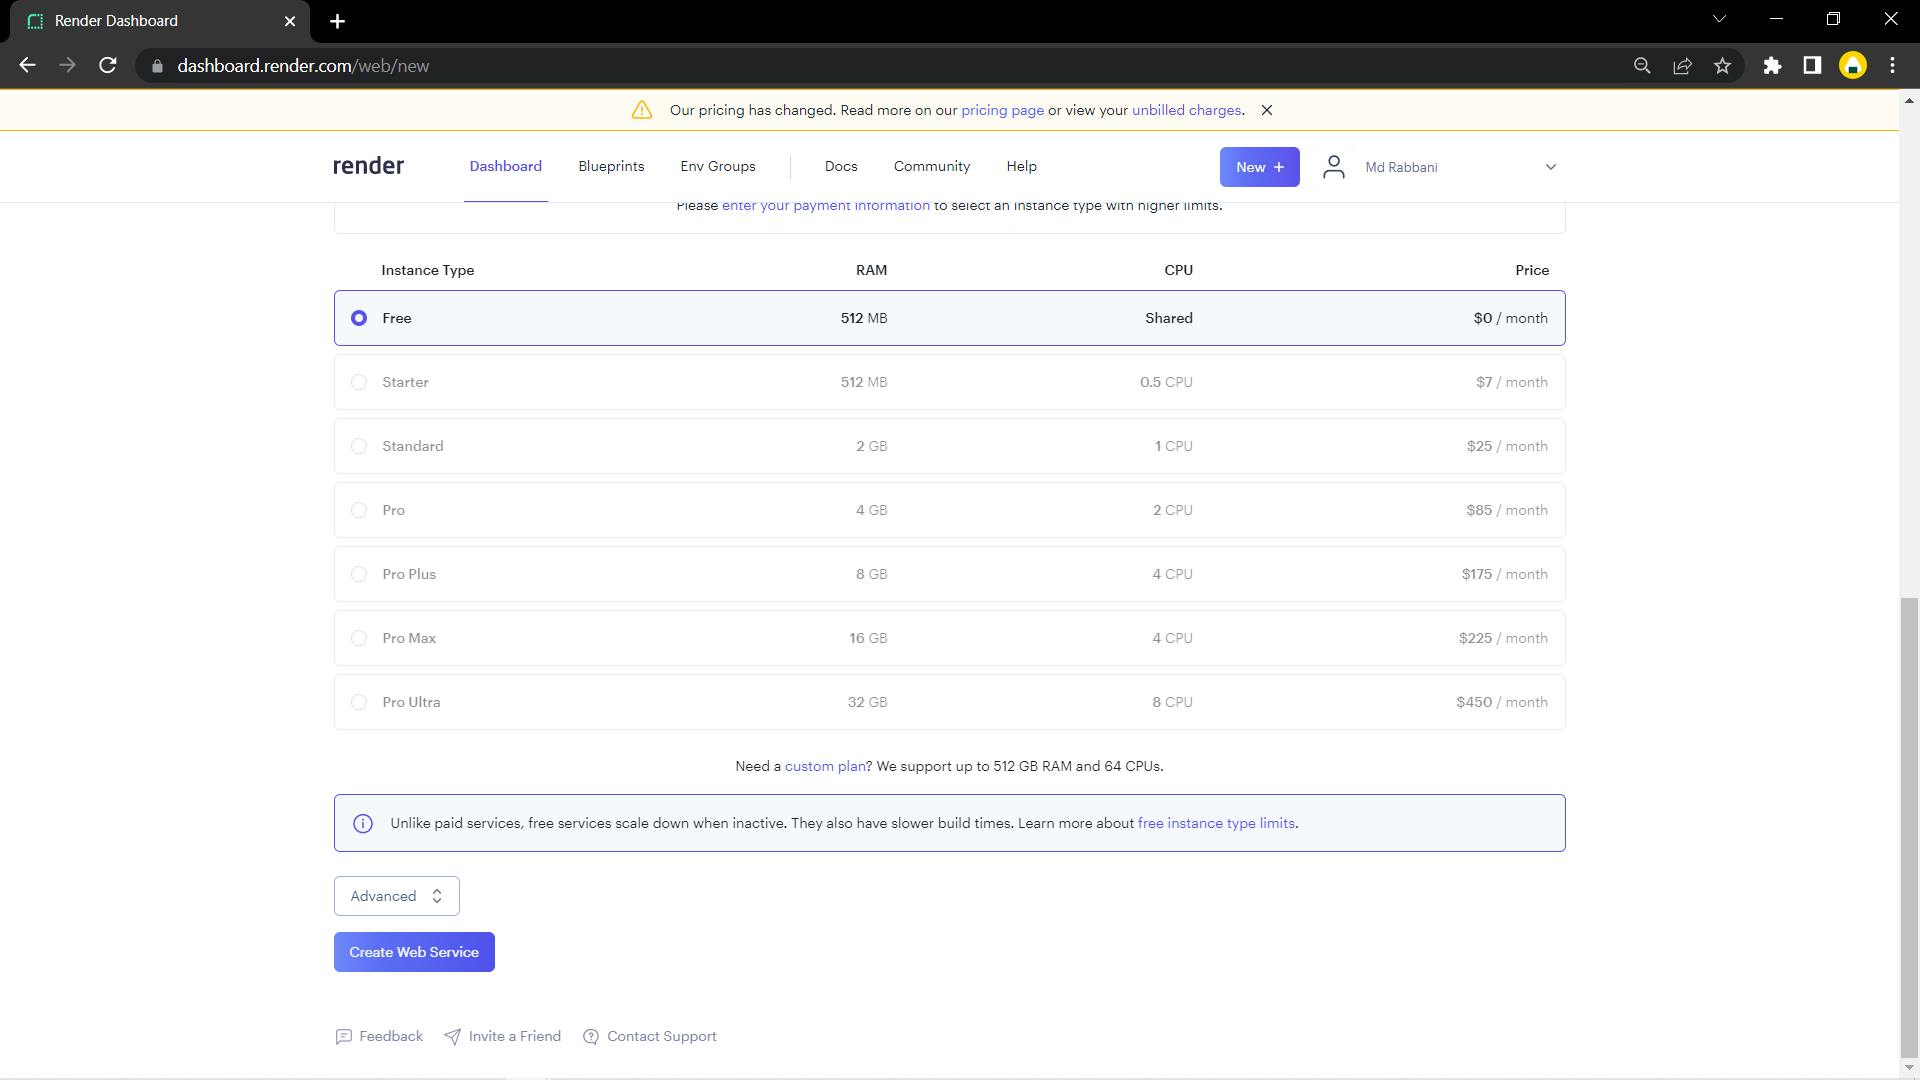
You are almost done now, wait for approx. 3-5 min and it will show that your website is live
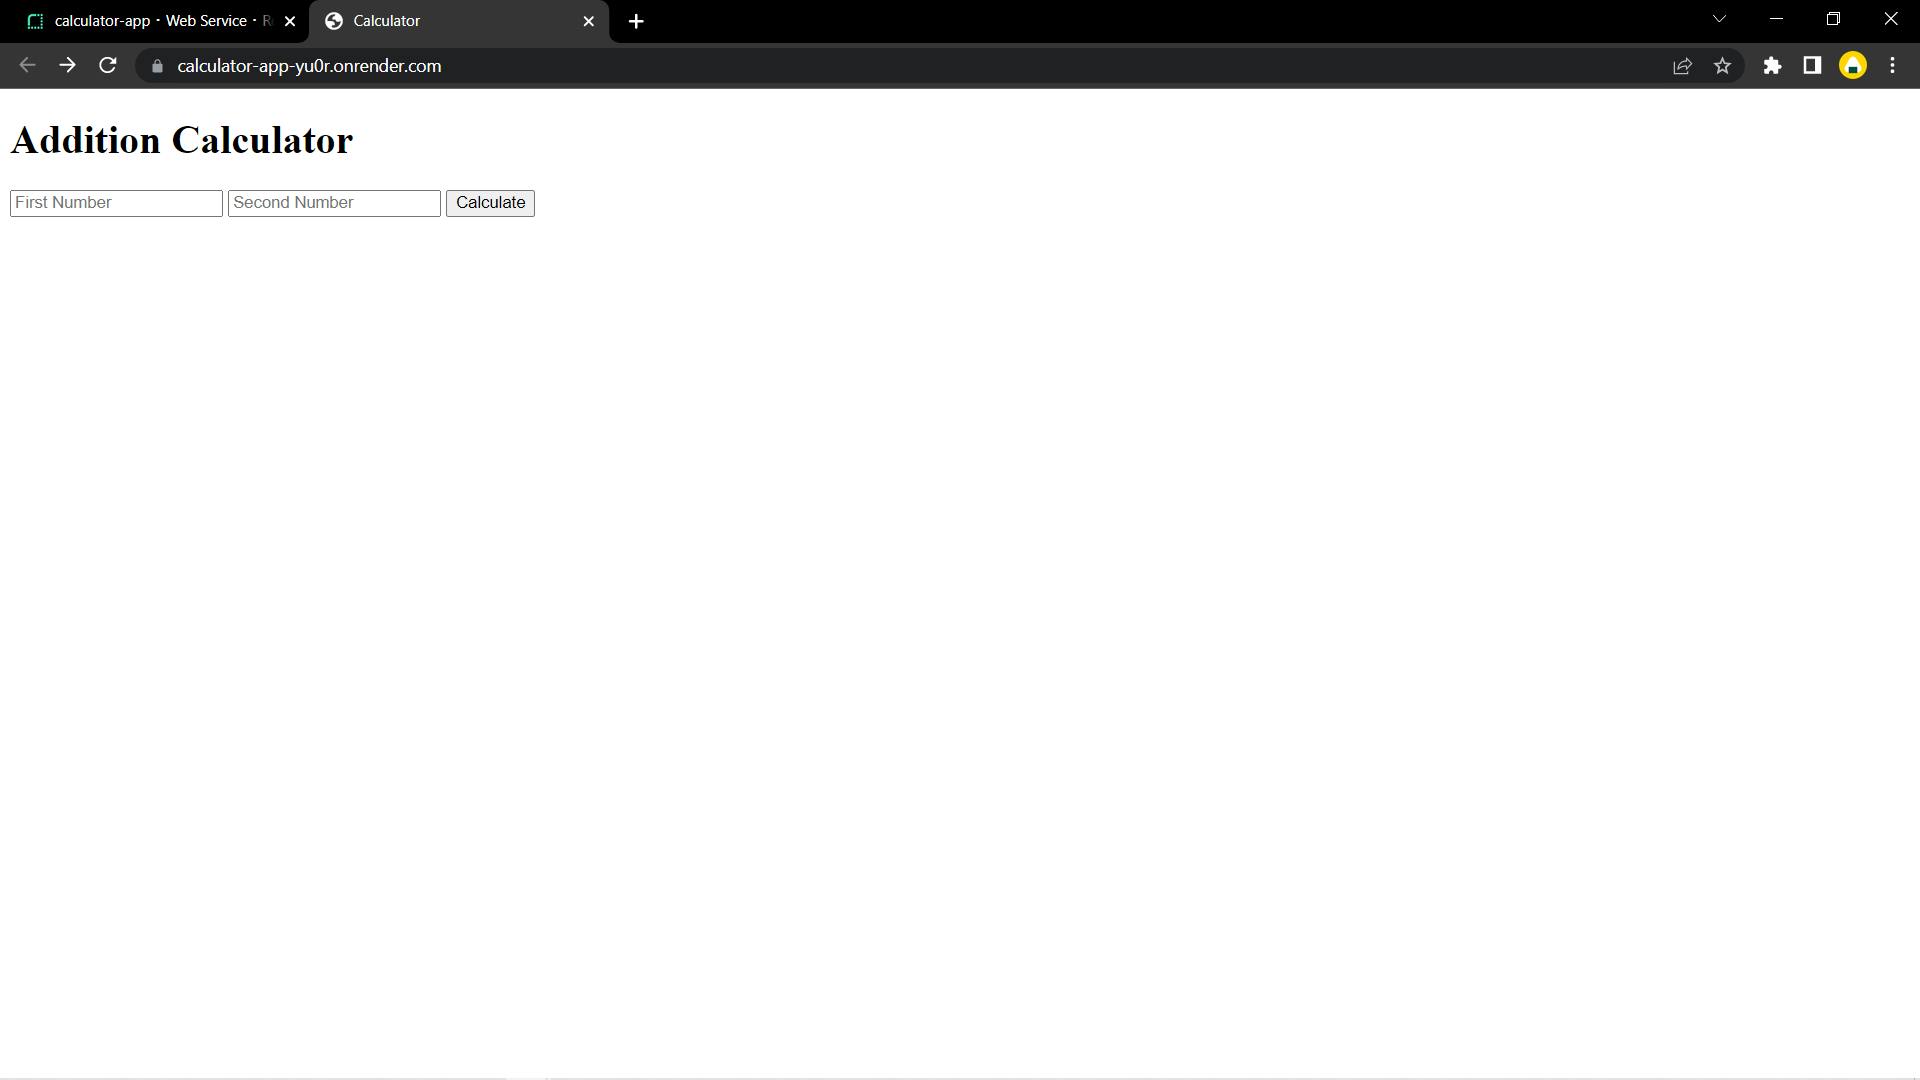
Hurray! you have successfully deployed your node.js web-app.
You can now access your deployed website by clicking on the link below your node-app name that you had chosen in step 10.

My website is Live now!!! 😄
If you want such simple and easy-to-understand guides like this, then feel free to subscribe to my blog.

